
Building Your First AEM Component with HTL
Series: AEM Core Development — Part 1
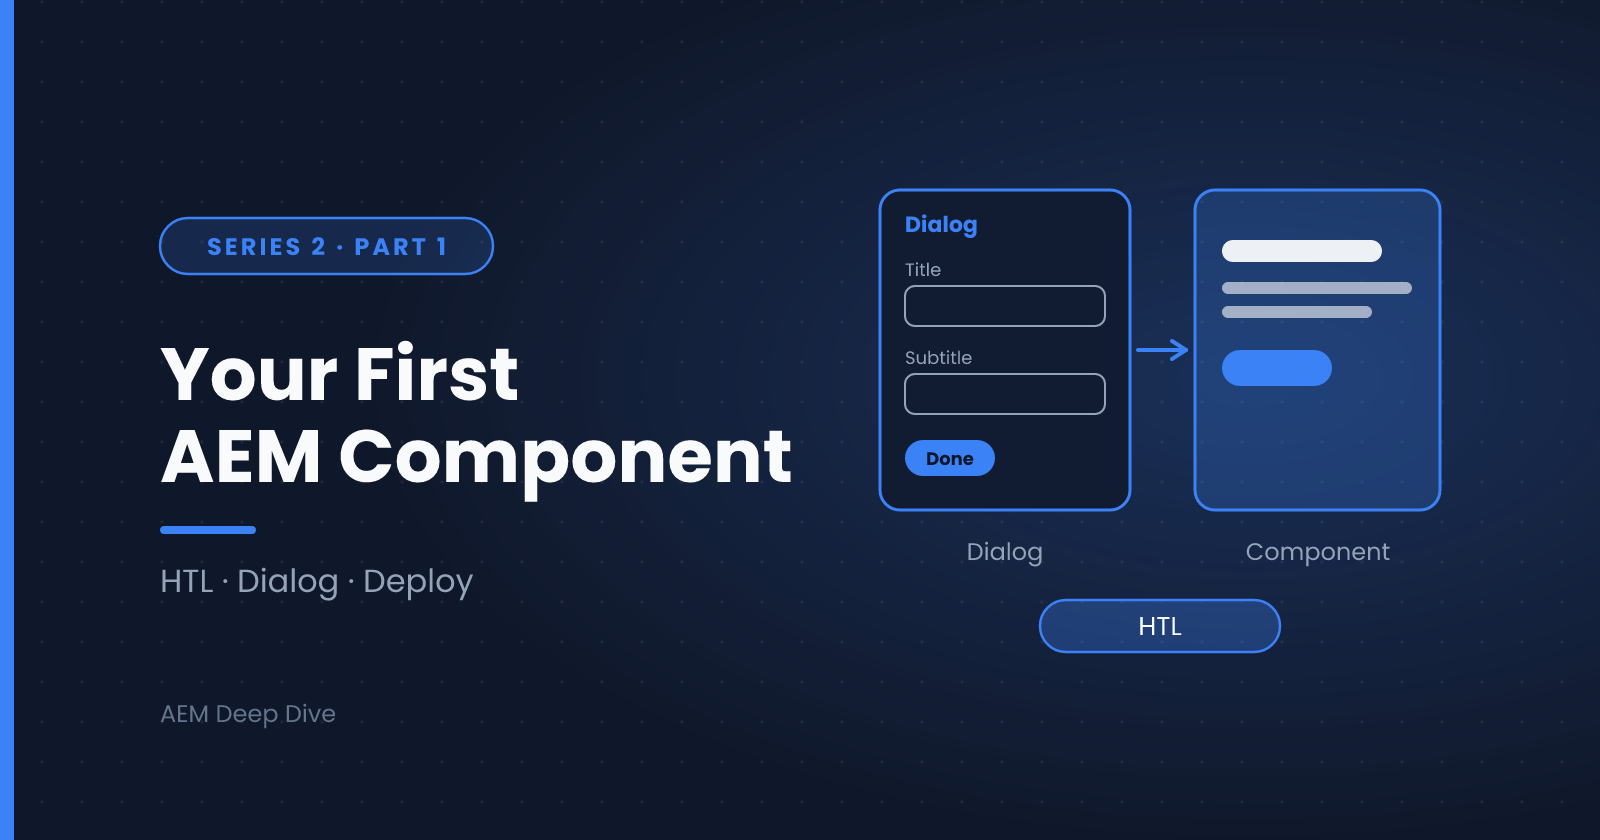
Components are the building blocks of every AEM page. In this post you'll build a simple, authorable "Hero Banner" component from scratch using HTL (HTML Template Language, formerly Sightly), and see how the pieces connect: the component definition, the dialog, and the rendering script.
What Is a Component?
An AEM component is a folder under /apps containing:
- A
.content.xmlfile that defines the component's metadata - An HTL script (
<componentname>.html) that renders markup - An optional
_cq_dialogthat lets authors configure it - Optional client libraries, Sling Models, and policies
Authors drag components onto pages; the component's sling:resourceType tells Sling which script to use (as covered in the Sling post in the Foundations series).
Step 1: Create the Component Folder
Inside your ui.apps module, create:
ui.apps/src/main/content/jcr_root/apps/myproject/components/herobanner/
├── .content.xml
├── herobanner.html
└── _cq_dialog/
    └── .content.xml
Step 2: Define the Component
herobanner/.content.xml:
<?xml version="1.0" encoding="UTF-8"?>
<jcr:root xmlns:sling="http://sling.apache.org/jcr/sling/1.0"
          xmlns:cq="http://www.day.com/jcr/cq/1.0"
          xmlns:jcr="http://www.jcp.org/jcr/1.0"
    jcr:primaryType="cq:Component"
    jcr:title="Hero Banner"
    jcr:description="A simple hero banner with title and subtitle"
    componentGroup="My Project - Content"/>
componentGroup controls where the component appears in the editor's component browser.
Step 3: Write the HTL Script
herobanner/herobanner.html:
<section class="hero-banner" data-sly-use.hero="com.myproject.core.models.HeroBanner">
    <h1 class="hero-banner__title">${hero.title}</h1>
    <p class="hero-banner__subtitle" data-sly-test="${hero.subtitle}">${hero.subtitle}</p>
</section>
<sly data-sly-test="${wcmmode.edit && !hero.title}">
    <p class="cq-placeholder">Configure the Hero Banner</p>
</sly>
Key HTL concepts used here:
${...}— expressions that output values, with automatic context-aware XSS protectiondata-sly-use— instantiates a Sling Model (or script) and binds it to a name; we'll writeHeroBannerin the next postdata-sly-test— conditional rendering (the element only appears if the expression is truthy)wcmmode.edit— lets you show an authoring placeholder only in the editor
Step 4: Add a Basic Dialog
herobanner/_cq_dialog/.content.xml:
<?xml version="1.0" encoding="UTF-8"?>
<jcr:root xmlns:sling="http://sling.apache.org/jcr/sling/1.0"
          xmlns:cq="http://www.day.com/jcr/cq/1.0"
          xmlns:jcr="http://www.jcp.org/jcr/1.0"
          xmlns:nt="http://www.jcp.org/jcr/nt/1.0"
    jcr:primaryType="nt:unstructured"
    jcr:title="Hero Banner"
    sling:resourceType="cq/gui/components/authoring/dialog">
    <content
        jcr:primaryType="nt:unstructured"
        sling:resourceType="granite/ui/components/coral/foundation/container">
        <items jcr:primaryType="nt:unstructured">
            <title
                jcr:primaryType="nt:unstructured"
                sling:resourceType="granite/ui/components/coral/foundation/form/textfield"
                fieldLabel="Title"
                name="./title"/>
            <subtitle
                jcr:primaryType="nt:unstructured"
                sling:resourceType="granite/ui/components/coral/foundation/form/textfield"
                fieldLabel="Subtitle"
                name="./subtitle"/>
        </items>
    </content>
</jcr:root>
The name="./title" attribute is crucial: it defines the property name the value is stored under on the component's JCR node. The Sling Model reads from the same property names.
Step 5: Deploy and Test
mvn clean install -PautoInstallSinglePackage
Then open a page in the editor, enable the component in the page template's policy (so it appears in the allowed components list), drag it onto the page, and open the dialog to enter values.
Common Beginner Pitfalls
- Component not visible in the browser panel — check
componentGroupand make sure the template policy allows it - Dialog values not appearing in output — property names in the dialog (
name="./title") must match what your model or HTL reads - Changes not showing after deploy — confirm the package installed successfully and clear your browser cache
What's Next
You've just used several data-sly-* attributes with only a brief explanation. In the next post we'll go through every HTL block statement in detail, with an example for each, before we build the HeroBanner Sling Model that this component depends on.
Next in this series: [HTL Block Statements: The Complete data-sly- Reference]*
About the author
- AEM Technical Lead experienced with building and architecting solutions on AEM Sites and Assets. Sharing practical tutorials, real-world implementation lessons, and best practices to help fellow developers and leads navigate AEM.
Comments
Join the discussionTry building the Hero Banner and tell me how it went. Did the component appear in the editor on the first try? If not, describe what you saw and I'll help debug. And what component would you like to build next?
AEM Core Development
"Hands-on component building, Sling Models, HTL, and dialog configuration — the everyday toolkit every AEM developer needs."