
Asset Compute Service: Custom Processing Profiles
Series: AEM Assets Deep Dive — Part 4
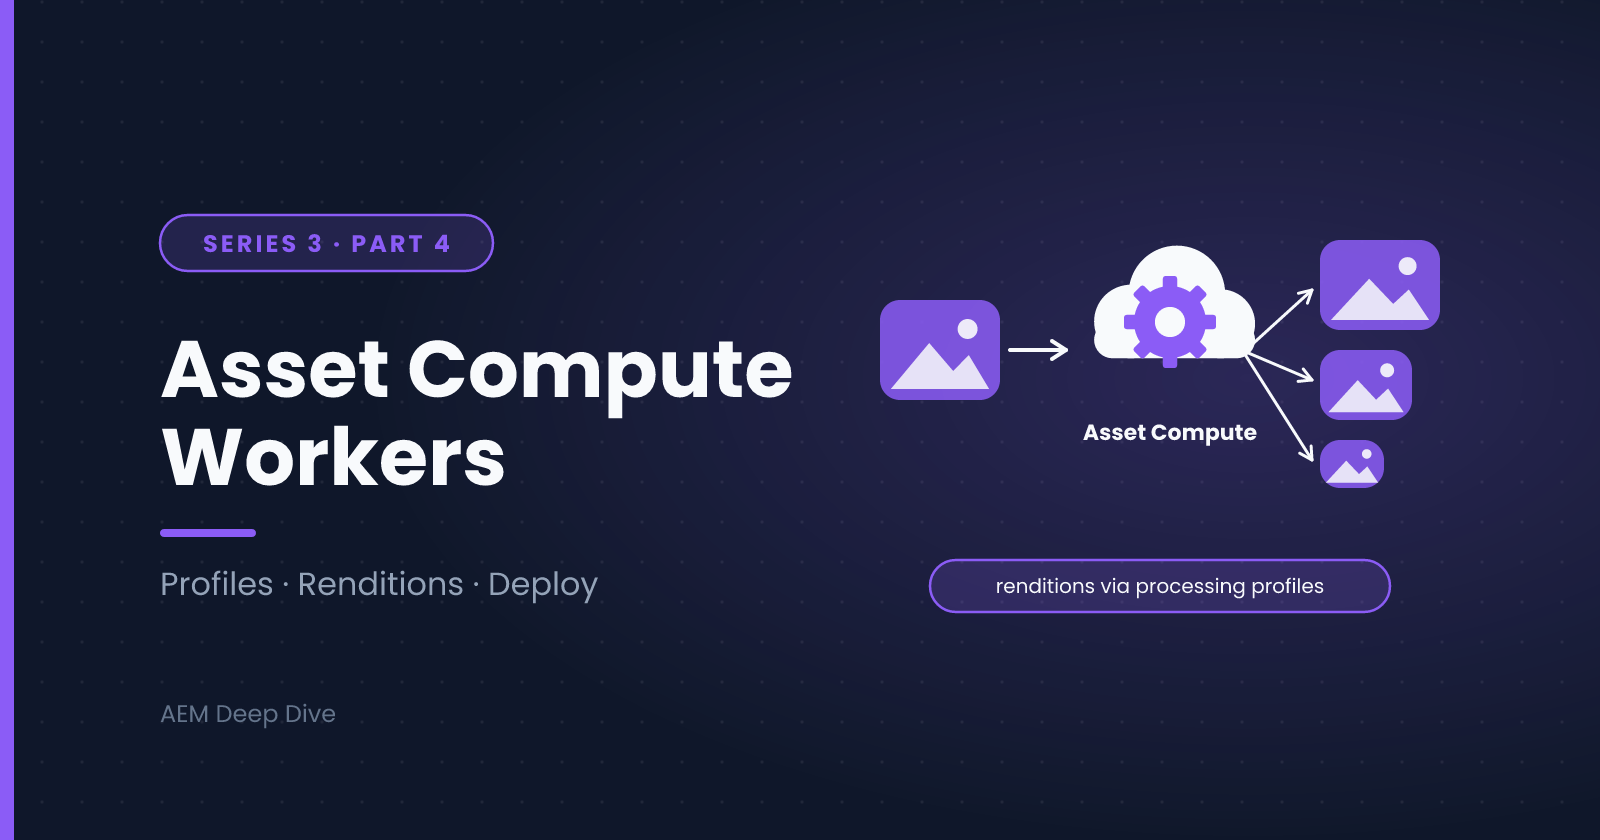
In AEM 6.x, custom workflow steps were how you read an asset, transformed it and wrote back a new rendition. In AEM as a Cloud Service that job belongs to Asset Compute: serverless microservices that process asset binaries outside AEM. This post explains how Asset Compute fits together, how processing profiles drive it, and how to build and deploy your own custom worker.
What Is Asset Compute?
Asset Compute is the cloud service that does the heavy lifting of asset processing for AEM as a Cloud Service. It handles:
- Generating standard renditions (thumbnails, web-sized images and so on)
- Extracting metadata from files
- Running custom workers that you write for your own needs
Because it runs outside AEM, your Author instance isn't burdened by processing, and large uploads scale without affecting editors.
Processing Profiles: The Link Between AEM and Asset Compute
A processing profile tells AEM which processing to run for assets in a folder. Profiles come in two kinds:
| Profile type | What it's for |
|---|---|
| Standard | Configure the out-of-the-box renditions: sizes, formats and so on, with no code |
| Custom | Invoke your own worker to generate custom renditions or write metadata |
You create profiles under Tools → Assets → Processing Profiles, then apply them to folders. Every asset uploaded or reprocessed under a folder with a profile gets that profile's processing.
How a Custom Worker Gets Invoked
- An asset is uploaded or reprocessed in a folder that has your custom profile
- AEM sends Asset Compute the source asset and the profile's instructions
- Asset Compute calls your worker, hosted on Adobe I/O Runtime
- Your worker reads the source, produces a rendition (or metadata) and returns it
- AEM stores the result with the asset, and post-processing workflows run afterwards
Prerequisites
Before you start building:
- AEM as a Cloud Service with Assets, and permission to configure processing profiles
- Access to the Adobe Developer Console, with an App Builder project and the Asset Compute service enabled for your organization
- Node.js and the Adobe I/O CLI (
aio) installed locally - A code editor. VS Code works well for debugging workers
Provisioning steps in the Developer Console change over time, so follow Adobe's current Asset Compute setup guide for the exact clicks.
Step 1: Create an Asset Compute Project
Use the aio CLI to scaffold a project, choosing the Asset Compute template when prompted:
aio login
aio app init my-asset-compute
This generates a project with a actions folder for your worker code, a test folder for test cases, and configuration files that link the project to your Developer Console workspace.
Step 2: Write a Worker
A worker is a Node.js function that receives the source file and writes out a rendition. Here's one that creates a grayscale, resized image:
'use strict';

const { worker } = require('@adobe/asset-compute-sdk');
const fs = require('fs').promises;
const sharp = require('sharp');

exports.main = worker(async (source, rendition) => {
    // Parameters configured in the processing profile arrive as strings
    const width = parseInt(rendition.instructions.width, 10) || 800;

    // source.path is the downloaded original; write the result to rendition.path
    const output = await sharp(source.path)
        .resize({ width })
        .grayscale()
        .png()
        .toBuffer();

    await fs.writeFile(rendition.path, output);
});
What's happening here:
worker(...)from the Asset Compute SDK handles downloading the source and uploading the rendition for yousource.pathis the local path of the downloaded originalrendition.pathis where you must write your outputrendition.instructionsholds the key/value service parameters you configure in the processing profile, which lets one worker serve many profiles- Install any libraries you use (here,
sharp) with npm, so they're included when you deploy
Step 3: Test Locally with the Development Tool
The Asset Compute Development Tool gives you a local web page for running your worker against sample files and previewing the result:
aio app run
Use it to try different source files and parameter values quickly, before you deploy anything.
Step 4: Write Automated Tests
Asset Compute has a test framework based on folders of test cases. Each case contains a source file, a params.json with the instructions, and the expected rendition:
test/asset-compute/my-worker/
└── grayscale-small/
    ├── file.jpg          ← input
    ├── params.json       ← e.g. { "width": "400" }
    └── rendition.png     ← expected output
Run them with:
aio app test
Tests give you confidence that a change doesn't break existing behavior, and they're cheap to run in CI.
Step 5: Debug a Worker
When something goes wrong:
- Use the Development Tool with the worker running locally, and attach your editor's debugger (VS Code is supported through a launch configuration)
- Add logging to your worker and read the activation logs from I/O Runtime after a deployed run
- Verify the worker with a small known file first, then try real assets
Step 6: Deploy to Adobe I/O Runtime
Custom workers must be deployed to Adobe I/O Runtime to be used by AEM as a Cloud Service:
aio app deploy
The command outputs the URL of your worker. You'll paste this into the processing profile. Make sure you deploy to the correct workspace for each AEM environment, with the Stage workspace used for AEM Stage and the Production workspace for AEM Production.
Step 7: Create the Custom Processing Profile
- Log in to AEM Author as an administrator
- Go to Tools → Assets → Processing Profiles
- Create a new profile and open the Custom tab
- Add a new service and fill in:
- Rendition name: the file name of the generated rendition (for example,
grayscale.png) - Endpoint URL: the URL of your deployed worker (use the right workspace for the environment)
- Service parameters: key/value pairs passed to your worker as
rendition.instructions(for examplewidth=600) - Include/exclude MIME types: limit which assets the worker processes, such as images only
- Rendition name: the file name of the generated rendition (for example,
- Save the profile
Limiting by MIME type matters, because otherwise your worker would be invoked for PDFs and videos it can't process.
Step 8: Apply the Profile to a Folder
- In Assets, select the folder and open Properties
- Go to the Processing Profiles tab
- Choose your profile and save
All assets uploaded or reprocessed under that folder will now invoke your worker. To apply it to existing assets, select them and use Reprocess Assets.
Then open an asset's Renditions to confirm the new rendition appears. This is also where you'd see failures if something went wrong.
Metadata Workers
Workers aren't limited to image renditions. A metadata worker can read a file, extract information (from a PDF's contents, for example) and write it back to the asset's metadata. This is useful for populating fields that AEM doesn't extract by default, and the pattern is the same: build, test, deploy, and register through a custom processing profile.
Design Tips for Custom Workers
- Keep workers focused. One worker should do one job, with parameters to vary the behavior
- Handle bad input. Corrupt or unexpected files will arrive, so fail clearly rather than hanging
- Validate parameters. Instructions arrive as strings, so parse and default them
- Watch performance. Workers run on serverless infrastructure with execution limits, so check Adobe's current limits for time and memory before processing very large files
- Version your workers. Treat a deployed worker like an API: changes affect every folder that uses it
- Separate environments. Use different workspaces for Stage and Production so testing never touches live assets
Troubleshooting
- Custom rendition missing: check the profile is applied to the folder, MIME type filters include your asset, and the asset was reprocessed after the profile was applied
- Worker not called: confirm the endpoint URL is correct and points to the right workspace
- Worker fails on some files: check the activation logs for the error, then add a test case with that file
- Works locally, fails deployed: check that all dependencies are installed and listed in your
package.json, and that you've deployed the latest build - Wrong parameter values: remember that instructions are strings, so parse numbers and booleans explicitly
Series Wrap-Up
That completes AEM Assets Deep Dive. You should now understand:
- How asset processing is split between Asset Compute and post-processing workflows in Cloud Service
- How to extend the pipeline with a custom workflow and process step
- How Smart Tags automate tagging, and how to train, curate and govern them
- How to design a DAM folder structure that supports permissions, profiles and growth
- How to build, test, deploy and register a custom Asset Compute worker
The next series, AEM Architecture & Operations, moves to running AEM in production: Dispatcher caching and invalidation, replication, Cloud Service versus 6.5, and performance tuning.
About the author
- AEM Technical Lead experienced with building and architecting solutions on AEM Sites and Assets. Sharing practical tutorials, real-world implementation lessons, and best practices to help fellow developers and leads navigate AEM.
Comments
Join the discussionHave you built a custom Asset Compute worker yet? What rendition or metadata task would you automate first? Share your use case and I'll consider covering it.
AEM Assets Deep Dive
"Practical guides to DAM workflows, smart tagging, asset processing, and managing digital assets at scale in AEM."